
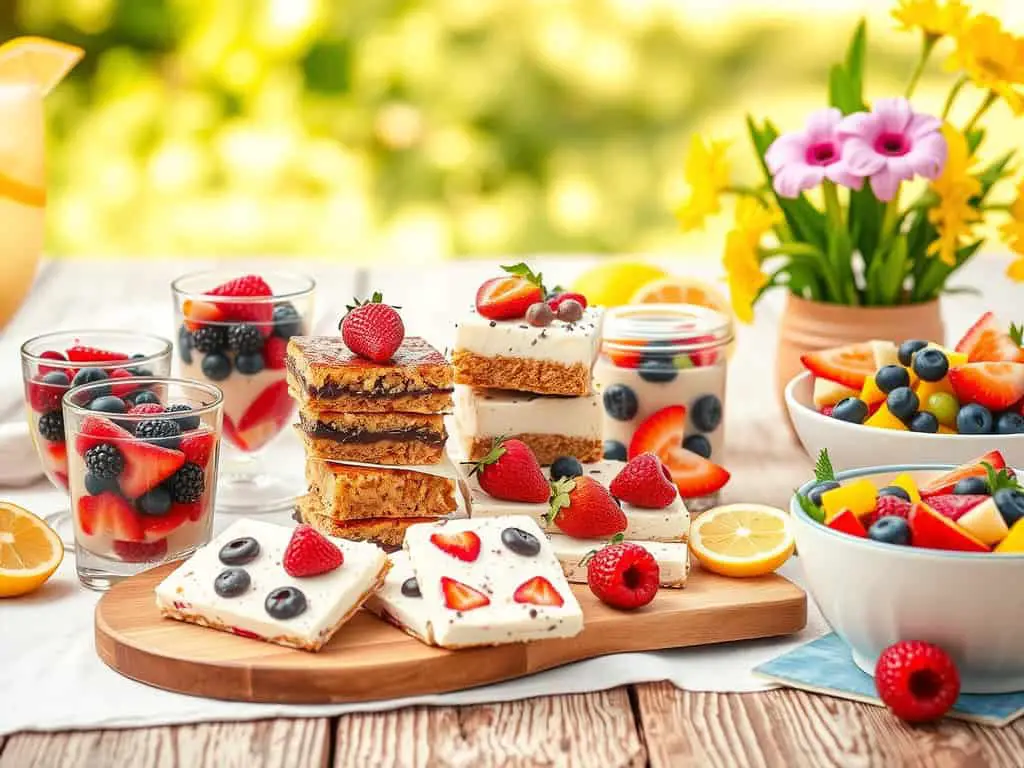
When the temperatures rise and the thought of turning on the oven feels like a bad idea, no-bake desserts come to the rescue! This collection of 20 simple and delightful treats will satisfy your sweet tooth without any fuss. From creamy cheesecakes to fruity parfaits, these chilled goodies are perfect for hot days when you want something cool and easy to whip up.
Simple Berry Cheesecake Parfaits
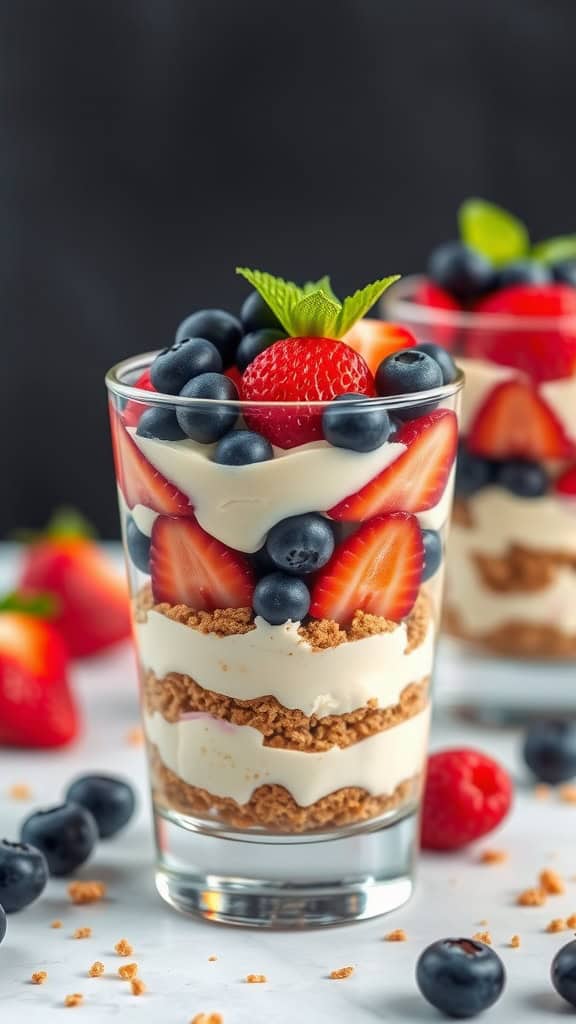
Looking for a refreshing dessert that’s as easy to make as it is delicious? These Simple Berry Cheesecake Parfaits are the answer! With layers of creamy cheesecake mixture, crunchy graham cracker crumbs, and vibrant berries, each spoonful is a delightful combination of flavors and textures. Ideal for hot days, these parfaits require no baking, making them the perfect treat to whip up quickly.
The beauty of these parfaits lies not only in their taste but also in how customizable they are. You can use any berries you love—strawberries, blueberries, raspberries, or even a mix. Plus, the creamy filling is a breeze to prepare, ensuring you can enjoy a delightful dessert without any fuss. Let’s dive into the recipe!
Ingredients
- 1 cup cream cheese, softened
- 1/2 cup powdered sugar
- 1 teaspoon vanilla extract
- 1 cup heavy cream
- 1 cup graham cracker crumbs
- 2 cups mixed berries (strawberries, blueberries, raspberries)
Instructions
- In a mixing bowl, beat the softened cream cheese until smooth. Add the powdered sugar and vanilla extract, mixing until well combined.
- In a separate bowl, whip the heavy cream until stiff peaks form. Gently fold the whipped cream into the cream cheese mixture until fully incorporated.
- Begin layering your parfaits: Start with a layer of graham cracker crumbs at the bottom of each serving glass.
- Add a layer of the cream cheese mixture followed by a layer of mixed berries. Repeat the layers until the glasses are filled, finishing with berries on top.
- Chill in the refrigerator for at least 30 minutes before serving to allow the flavors to meld.
Chocolate Peanut Butter Bars
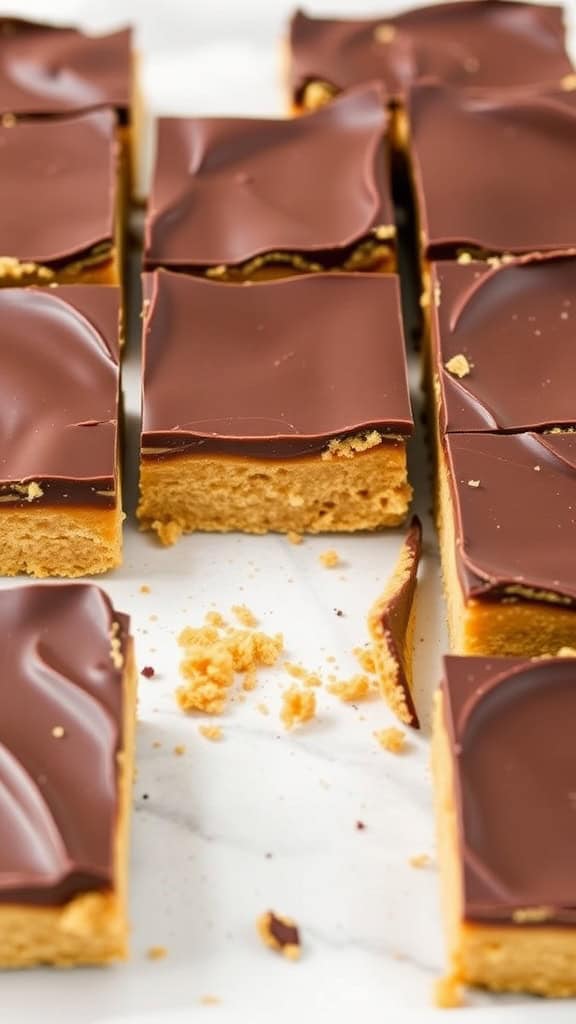
Chocolate peanut butter bars are the ultimate treat for hot days when you want something sweet without turning on the oven. These bars are rich and creamy, with a delicious layer of chocolate on top that perfectly complements the smooth peanut butter base. They are incredibly easy to whip up, needing no baking at all, making them a popular choice for warm weather gatherings.
The combination of chocolate and peanut butter creates a delightful contrast in flavors and textures, making each bite enjoyable. Plus, they can be made in just a few simple steps, so you can focus on enjoying the sunny days ahead rather than spending hours in the kitchen.
Ingredients
- 1 cup peanut butter
- 1/2 cup honey or maple syrup
- 1 cup graham cracker crumbs
- 1/2 cup powdered sugar
- 1 cup chocolate chips
- 2 tablespoons coconut oil (optional)
Instructions
- Prepare the Base: In a large bowl, mix together peanut butter and honey (or maple syrup) until smooth. Stir in graham cracker crumbs and powdered sugar until well combined.
- Press into Pan: Line an 8×8-inch baking dish with parchment paper. Press the peanut butter mixture firmly into the bottom of the dish, spreading it evenly.
- Melt the Chocolate: In a microwave-safe bowl, combine chocolate chips and coconut oil (if using). Microwave in 30-second intervals, stirring until melted and smooth.
- Add Chocolate Layer: Pour the melted chocolate over the peanut butter base, spreading it evenly. Refrigerate for at least 2 hours or until set.
- Cut and Serve: Once set, remove from the pan and cut into squares. Enjoy your no-bake chocolate peanut butter bars!
Lemon Icebox Pie

Lemon Icebox Pie is a delightful dessert that perfectly balances tartness and sweetness. This creamy treat is not only refreshing but also incredibly simple to prepare, making it a go-to option for hot days when you want something light and satisfying.
The combination of tangy lemon and a smooth filling nestled in a graham cracker crust is a classic that never fails to impress. No baking is required, which means you can whip this up quickly and let it chill while you enjoy your day!
Ingredients
- 1 1/2 cups graham cracker crumbs
- 1/3 cup granulated sugar
- 1/2 cup unsalted butter, melted
- 1 can (14 ounces) sweetened condensed milk
- 1/2 cup fresh lemon juice
- 1 tablespoon lemon zest
- 1/4 teaspoon salt
- 1 cup heavy whipping cream
- 2 tablespoons powdered sugar
Instructions
- Make the Crust: In a bowl, combine graham cracker crumbs, granulated sugar, and melted butter. Press the mixture into the bottom and sides of a 9-inch pie pan. Chill in the refrigerator for about 30 minutes.
- Prepare the Filling: In a large mixing bowl, whisk together sweetened condensed milk, lemon juice, lemon zest, and salt until smooth.
- Combine and Chill: Pour the filling into the chilled crust and smooth the top. Cover with plastic wrap and refrigerate for at least 4 hours or until set.
- Make the Whipped Cream: Before serving, whip the heavy cream and powdered sugar together until soft peaks form. Spread or pipe over the pie for an extra touch.
- Serve and Enjoy: Slice the pie and enjoy the refreshing lemon flavor!
Strawberry Shortcake Trifles

Strawberry Shortcake Trifles are a delightful and refreshing dessert that captures the essence of summer. Layers of fluffy cake, sweet strawberries, and creamy whipped topping come together in a fun and easy way. They’re perfect for hot days when you want something light and satisfying without turning on the oven.
This no-bake treat is not only simple to prepare but also allows for a bit of creativity. You can personalize each trifle to suit your taste, whether you prefer more fruit or extra cream. The combination of flavors and textures makes each bite a joy!
Ingredients
- 2 cups fresh strawberries, sliced
- 1 cup whipped cream
- 2 cups angel food cake, crumbled
- 1/2 cup vanilla pudding
- Mint leaves for garnish (optional)
Instructions
- Prepare the Strawberries: In a bowl, mix the sliced strawberries with a tablespoon of sugar and let them sit for about 10 minutes to release their juices.
- Layer the Ingredients: In clear cups or jars, start by adding a layer of crumbled angel food cake at the bottom.
- Add Pudding: Spoon a layer of vanilla pudding over the cake, followed by a layer of the sweetened strawberries.
- Top with Cream: Add a generous dollop of whipped cream on top of the strawberries.
- Repeat Layers: Continue layering until you reach the top of the container, finishing with whipped cream.
- Garnish: If desired, add mint leaves for a touch of color and flavor.
- Serve: Enjoy immediately or refrigerate until ready to serve.
Oreo Ice Cream Sandwiches
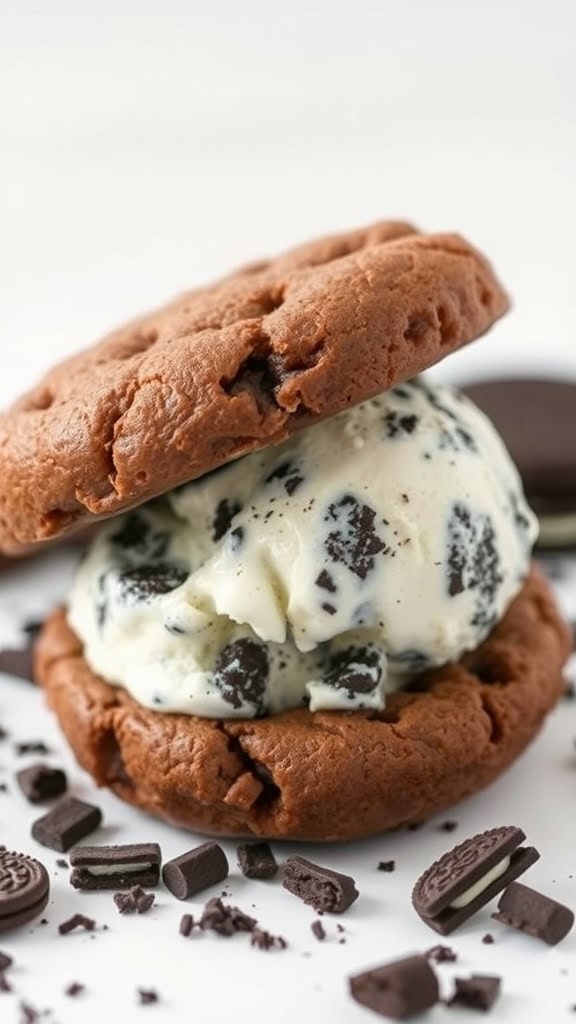
If you’re craving something refreshing and sweet without turning on the oven, Oreo ice cream sandwiches are the way to go. These delightful treats combine the rich flavor of chocolate cookies with creamy ice cream, creating a perfect balance of textures and tastes. They are super easy to whip up, making them an excellent choice for hot days when you want a cool dessert.
With just a few simple ingredients, you can create a delightful dessert that everyone will love. Perfect for gatherings or just a fun afternoon snack, these sandwiches are sure to satisfy your sweet tooth. Here’s how to make them!
Ingredients
- 16 Oreo cookies
- 2 cups vanilla ice cream (or your favorite flavor)
- 1/4 cup mini chocolate chips (optional)
Instructions
- Prepare the Cookies: Place 8 Oreo cookies on a flat surface, cream side up.
- Add Ice Cream: Scoop about 1/4 cup of ice cream onto each cookie. If you like, sprinkle mini chocolate chips on top of the ice cream for added flavor.
- Top It Off: Place another Oreo cookie on top, cream side down, gently pressing to create a sandwich.
- Freeze: Arrange the sandwiches on a tray and place them in the freezer for at least 1-2 hours to firm up.
- Serve: Once frozen, take them out and enjoy your delicious Oreo ice cream sandwiches!
Tropical Fruit Salad With Honey Lime Dressing
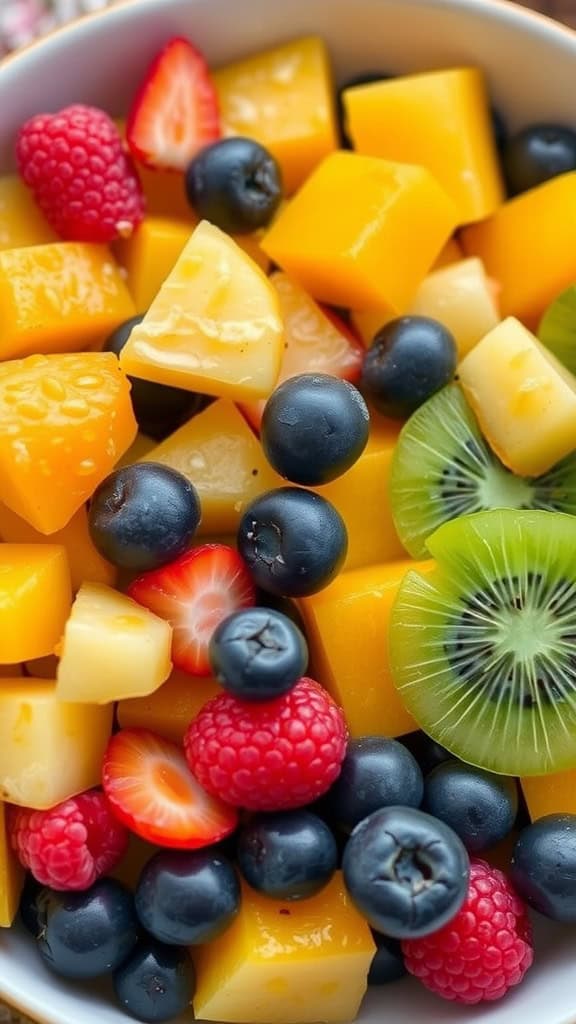
Brighten up your day with a refreshing Tropical Fruit Salad! This dish combines sweet and tangy flavors, making it a delightful treat for warm weather. Using fresh fruits like mango, kiwi, strawberries, and blueberries, it’s not only colorful but also packed with vitamins that are great for your health.
Easy to prepare, this fruit salad comes together in no time. The addition of honey lime dressing elevates the flavors, adding a zesty twist to the natural sweetness of the fruits. Perfect as a light dessert or a healthy snack, it’s a go-to recipe for hot days!
Ingredients
- 2 cups diced fresh mango
- 1 cup sliced strawberries
- 1 cup blueberries
- 1 cup diced kiwi
- 1 cup pineapple chunks
- 2 tablespoons honey
- 2 tablespoons lime juice
- Fresh mint leaves for garnish (optional)
Instructions
- In a large mixing bowl, combine the diced mango, sliced strawberries, blueberries, diced kiwi, and pineapple chunks.
- In a small bowl, whisk together the honey and lime juice until well blended.
- Drizzle the honey lime dressing over the fruit mixture and gently toss to combine.
- Let it sit for about 10 minutes to allow the flavors to meld together.
- Garnish with fresh mint leaves if desired and serve chilled.
Banana Pudding Cups
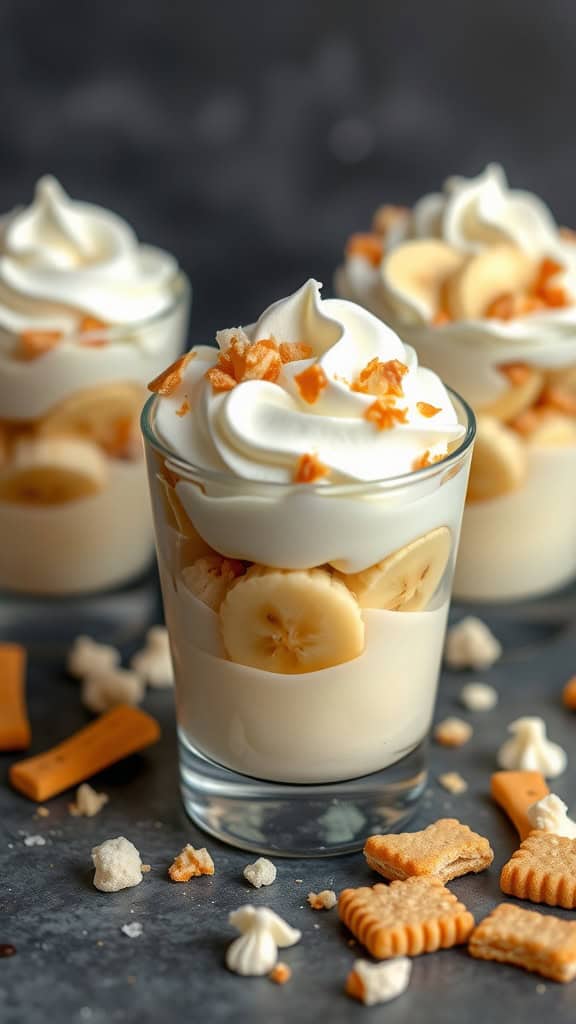
If you’re looking for a sweet treat that doesn’t require turning on the oven, banana pudding cups are an ideal choice. These delightful desserts combine creamy pudding, sliced bananas, and crunchy cookies to create a delightful blend of flavors and textures in each spoonful. They are cool, refreshing, and perfect for those hot days when you want something sweet without the fuss.
Not only are banana pudding cups easy to whip up, but they also offer a delightful combination of sweetness and creaminess that makes them a hit with kids and adults alike. With just a few ingredients, you can layer your way to a delicious dessert that looks as impressive as it tastes!
Ingredients
- 2 ripe bananas, sliced
- 1 cup vanilla pudding
- 1 cup whipped cream
- 1 cup mini vanilla wafers
- 1 tablespoon caramel sauce (optional)
Instructions
- In a cup or small glass, start by adding a layer of vanilla pudding at the bottom.
- Add a layer of sliced bananas on top of the pudding.
- Next, sprinkle a layer of mini vanilla wafers over the bananas.
- Repeat the layers until the cup is filled, finishing with a layer of whipped cream on top.
- Drizzle with caramel sauce if desired and serve immediately. Enjoy your delicious banana pudding cups!
Chocolate Mousse With Whipped Cream
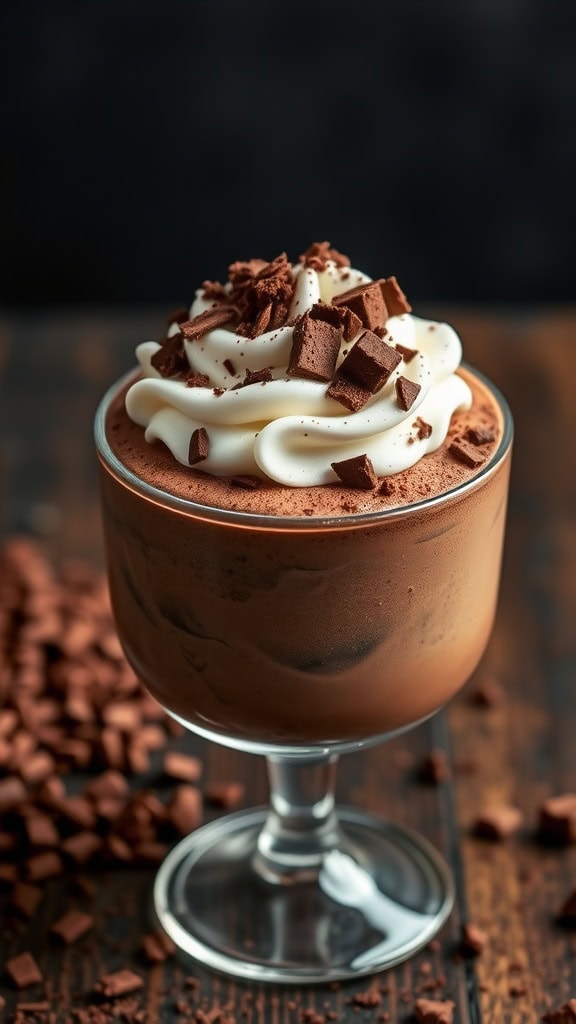
Chocolate mousse is a delightful and indulgent treat that brings a rich and creamy taste to your dessert table. This no-bake recipe is not only easy to whip up but also perfect for those hot days when you want something cool and satisfying without spending much time in the kitchen.
The combination of velvety chocolate and airy whipped cream creates a dessert that feels luxurious yet is simple to make. Each spoonful melts in your mouth, offering a sweet escape that chocolate lovers will adore.
Ingredients
- 1 cup heavy cream
- 8 oz dark chocolate, chopped
- 3 large eggs
- 1/4 cup granulated sugar
- 1 teaspoon vanilla extract
- Pinch of salt
- Extra whipped cream and chocolate shavings for topping
Instructions
- Melt the Chocolate: In a heatproof bowl, melt the chopped dark chocolate over a pot of simmering water, stirring until smooth. Remove from heat and let cool slightly.
- Whip the Cream: In a separate bowl, whip the heavy cream until soft peaks form. Reserve a bit for topping later.
- Prepare the Egg Mixture: In another bowl, whisk together the eggs, sugar, vanilla extract, and a pinch of salt until well combined.
- Combine Mixtures: Slowly add the melted chocolate into the egg mixture, mixing gently until smooth. Then, fold in the whipped cream until no streaks remain.
- Chill: Spoon the mousse into serving dishes and refrigerate for at least 2 hours until set.
- Serve: Before serving, top with the reserved whipped cream and chocolate shavings for garnish.
No-Bake S’Mores Bars
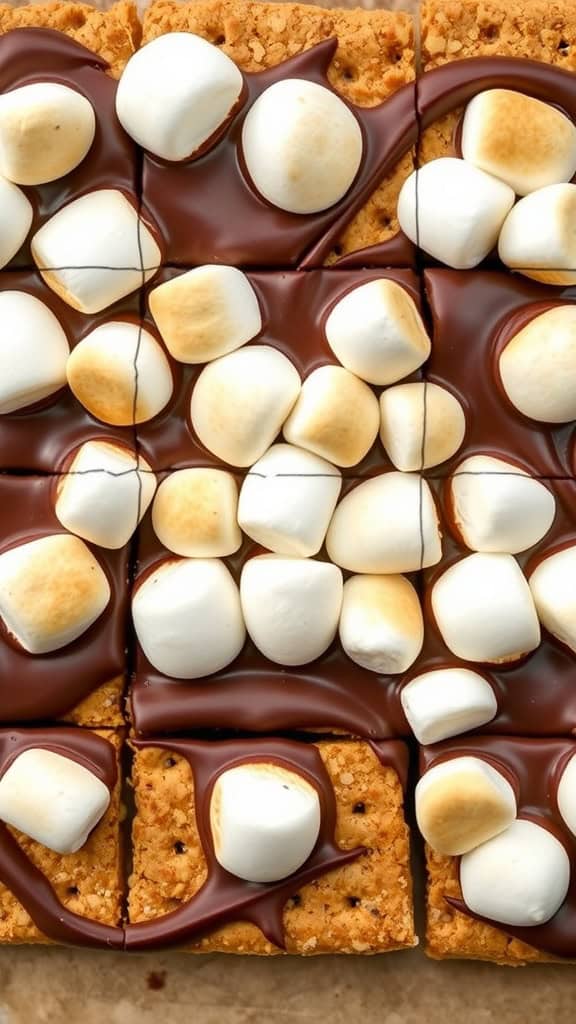
S’Mores bars are a delightful twist on the classic campfire treat, combining the sweet, gooey flavors of marshmallows, chocolate, and graham crackers without the need for an oven. They offer a perfect balance of crunch and creaminess, making them an enjoyable dessert for hot days when you want something sweet but don’t want to heat up your kitchen.
This simple recipe comes together quickly and requires minimal ingredients, making it an easy choice for summer gatherings or a sweet snack at home. With each bite, you’ll get a comforting taste of nostalgia that transports you back to those cozy evenings by the fire.
Ingredients
- 2 cups graham cracker crumbs
- 1/2 cup unsalted butter, melted
- 1/4 cup granulated sugar
- 2 cups mini marshmallows
- 1 cup chocolate chips
- 1/4 cup heavy cream
Instructions
- Prepare the Base: In a large bowl, mix graham cracker crumbs, melted butter, and sugar until well combined. Press the mixture into the bottom of a lined 9×9 inch baking dish.
- Melt the Chocolate: In a small saucepan, heat the heavy cream over low heat. Once warm, add the chocolate chips and stir until melted and smooth.
- Assemble the Bars: Pour the melted chocolate over the graham cracker base, spreading it evenly. Top with mini marshmallows.
- Chill: Refrigerate the bars for at least 2 hours, or until set. Once firm, cut into squares and enjoy!
Key Lime Pie Bars
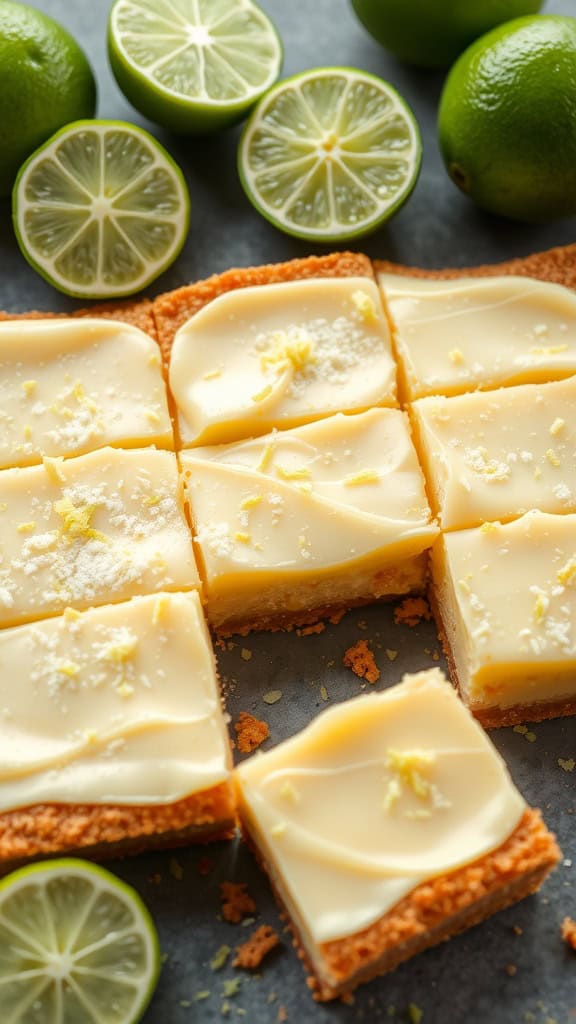
Key Lime Pie Bars are a delightful treat that perfectly balances sweet and tart flavors. They bring a refreshing taste that’s ideal for hot days when you want something light yet satisfying. With a buttery graham cracker crust and a creamy key lime filling, these bars are as simple to make as they are delicious.
No need to turn on the oven; this no-bake dessert comes together quickly and can be chilled in the refrigerator until set. The zesty lime notes combined with the smooth filling make each bite a delightful experience. It’s a fun and casual dessert that everyone will love!
Ingredients
- 1 ½ cups graham cracker crumbs
- ½ cup unsalted butter, melted
- 1/3 cup granulated sugar
- 1 cup sweetened condensed milk
- ½ cup key lime juice (fresh or bottled)
- 1 teaspoon lime zest
- 1 cup whipped cream (optional for topping)
Instructions
- Make the Crust: In a mixing bowl, combine graham cracker crumbs, melted butter, and sugar. Stir until well combined. Press the mixture into the bottom of a greased 9×9 inch square pan to form an even layer.
- Prepare the Filling: In another bowl, whisk together the sweetened condensed milk, key lime juice, and lime zest until smooth.
- Combine and Chill: Pour the lime filling over the graham cracker crust, spreading it evenly. Cover the pan with plastic wrap and refrigerate for at least 3 hours or until set.
- Serve: Once set, cut into bars and top with whipped cream if desired. Enjoy your refreshing Key Lime Pie Bars!
Frozen Yogurt Bark With Berries

Frozen yogurt bark with berries is a delightful treat that’s both refreshing and satisfying. This simple recipe combines creamy yogurt with vibrant fruits, making it a perfect choice for hot days. The sweetness of the berries pairs beautifully with the tangy yogurt, creating a snack that feels indulgent yet healthy.
Not only is this dessert easy to make, but it’s also customizable! You can mix and match your favorite fruits and add toppings like nuts or granola for extra crunch. It’s a fun way to enjoy the flavors of summer while keeping cool.
Ingredients
- 2 cups plain Greek yogurt
- 2 tablespoons honey or maple syrup
- 1 cup strawberries, sliced
- 1 cup blueberries
- 1/4 cup granola (optional)
- Fresh mint leaves for garnish (optional)
Instructions
- Prepare the Yogurt Mixture: In a medium bowl, mix the Greek yogurt with honey or maple syrup until well combined.
- Spread the Yogurt: Line a baking sheet with parchment paper. Pour the yogurt mixture onto the parchment and spread it out evenly with a spatula.
- Add the Toppings: Scatter the sliced strawberries and blueberries over the yogurt. If using, sprinkle granola on top for added texture.
- Freeze: Place the baking sheet in the freezer for about 3-4 hours or until the yogurt is completely frozen.
- Break into Pieces: Once frozen, remove from the freezer and let it sit for a few minutes. Break the yogurt bark into pieces and serve immediately. Garnish with fresh mint leaves if desired.
Peanut Butter Banana Pops
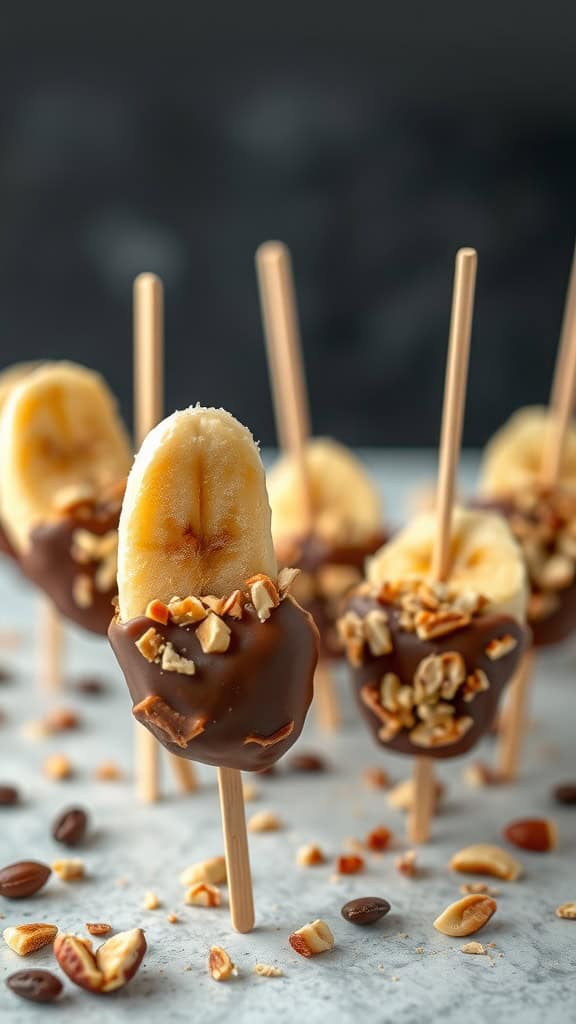
Peanut Butter Banana Pops are a fun and easy treat that brings together the deliciousness of bananas and the rich flavor of peanut butter. They’re perfect for hot days, offering a refreshing and satisfying snack that’s also healthy. The creamy peanut butter combined with the sweet banana creates a delightful balance of taste, making these pops a favorite for both kids and adults.
Not only are these pops super simple to make, but they also require minimal ingredients. You can easily customize them with your favorite toppings for added crunch and flavor. Whether you’re enjoying them by the pool or as an after-dinner dessert, these pops will surely hit the spot!
Ingredients
- 2 ripe bananas
- 1/2 cup peanut butter
- 1 cup dark chocolate chips
- 1/4 cup chopped nuts (such as peanuts or almonds)
- Wooden popsicle sticks
Instructions
- Prepare the Bananas: Peel the bananas and cut them in half. Insert a wooden popsicle stick into each half.
- Coat with Peanut Butter: Spread a layer of peanut butter over each banana half, making sure to cover them well.
- Melt the Chocolate: In a microwave-safe bowl, melt the dark chocolate chips in 30-second intervals, stirring until smooth.
- Dip in Chocolate: Dip each peanut butter-coated banana into the melted chocolate, ensuring they are fully covered.
- Add Toppings: Immediately sprinkle the chopped nuts onto the chocolate-covered bananas before the chocolate sets.
- Freeze: Place the pops on a parchment-lined baking sheet and freeze for about 2-3 hours or until solid.
- Enjoy: Remove from the freezer and enjoy your Peanut Butter Banana Pops!
Coconut Cream Pudding
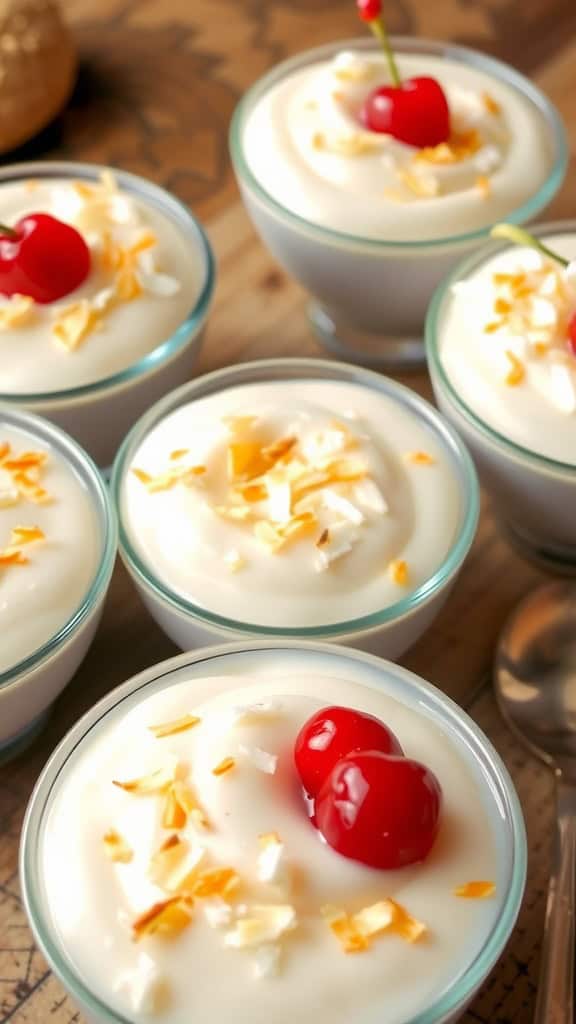
If you’re in the mood for something light and refreshing, coconut cream pudding is the way to go. This dessert has a delightful flavor that combines the creaminess of coconut with a touch of sweetness. It’s particularly nice on hot days when you want a cool treat without the hassle of baking.
This recipe is simple to whip up and requires minimal ingredients, making it p